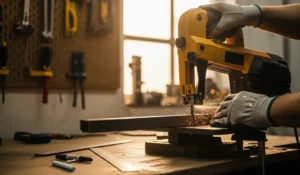
If there is one tool in my shop that I rely on for everything from resawing veneers to cutting complex joinery curves, it’s the bandsaw. But let me tell you about a scenario I’ve seen play out a hundred times. A buddy calls me up, frustrated because his bandsaw “isn’t cutting straight” or “smells like a campfire” every time he feeds a piece of Cherry through it. He’s convinced the blade is dull and is about to toss a $40 carbide-tipped blade in the trash.
My first question is always the same: “When was the last time you cleaned it?”
Nine times out of ten, the silence on the other end tells me everything I need to know.
We often mistake a dirty blade for a dull one. As we cut, especially with resinous softwoods like pine or sap-heavy hardwoods, pitch and gum fuse to the teeth and the gullets of the blade. This buildup reduces the clearance the teeth need to cut efficiently, causing friction. Friction causes heat. Heat causes the blade to expand, the metal to fatigue, and the wood to burn.
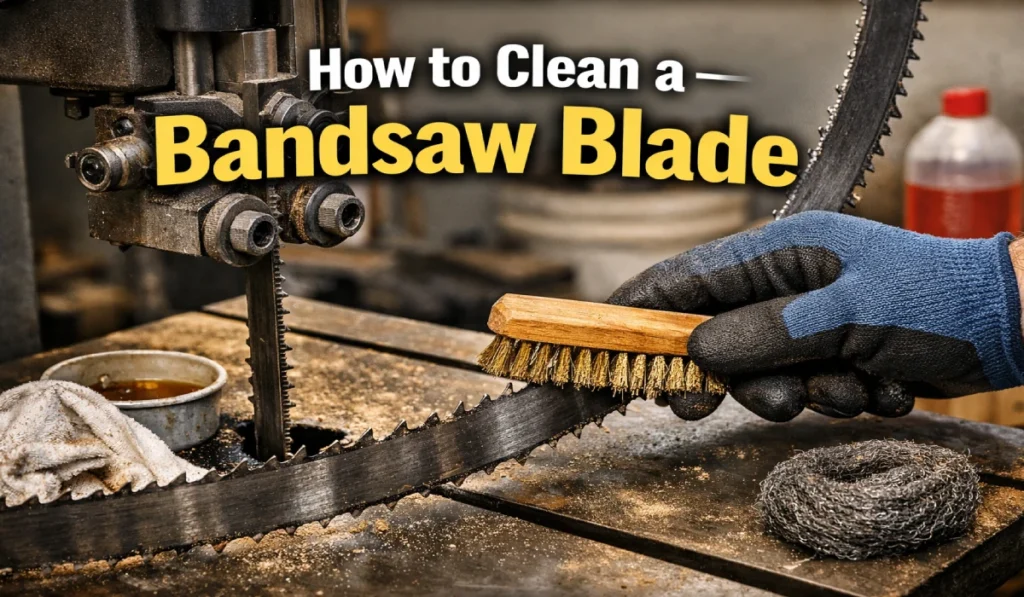
Before you order a replacement, save your money. In this guide, I’m going to walk you through exactly how to clean a bandsaw blade, what solvents work best in a real-world shop, and how to keep it cutting smoothly for years.
Why You Need to Clean Your Blade (It’s Not Just Aesthetics)
In the woodworking world, we talk a lot about “sharpness,” but “cleanliness” is the unsung hero of tool maintenance. When you look closely at a dirty bandsaw blade, you’ll see hard, black deposits baked onto the sides of the teeth and filling the gullets (the valleys between the teeth).
Here is why that gunk is the enemy:
- Lost Set: The “set” of the teeth is the amount they lean left or right to clear a path (kerf) wider than the blade body. Buildup effectively thickens the blade body, eliminating that clearance. This causes the blade to bind and burn.
- Heat Buildup: Pitch acts like an insulator and a friction generator. A hot blade loses its temper (hardness) faster and is more prone to snapping.
- Drift: If you have pitch only on one side of the blade (common if you were shaving off a glued edge), the blade will pull hard to one side. No amount of fence adjustment will fix that.
The Safety Check Before We Start
I’ve been working with power tools for decades, and I still have all my fingers because I respect the machines. Cleaning a bandsaw blade presents a few specific hazards.
- Unplug the Machine: Never, ever touch the blade or open the wheel covers while the saw is plugged in.
- Wear Gloves: We aren’t running the saw, so the “no gloves near spinning machinery” rule is suspended. You are handling a static, sharp loop of steel. Leather or cut-resistant gloves are a must.
- Eye Protection: Solvents splash. Old pitch flakes off. Wear your safety glasses.
- Ventilation: Some of the cleaners we will discuss have strong fumes. Open a garage door or turn on your air filtration.
Choosing Your Weapon: Best Solvents for Cleaning Blades
Walk into any woodworking forum, and you’ll find a war raging over the best cleaning agent. The truth? Most of them work, but they have different pros and cons depending on your shop setup.
1. Dedicated Blade & Bit Cleaners (The Pro Choice)
Brands like Trend, CMT, or Empire generate specialized resin removers.
- Pros: They work incredibly fast (usually spray on, wipe off) and often contain rust inhibitors.
- Cons: They are the most expensive option per ounce.
2. Simple Green (The All-Rounder)
This is my go-to for general shop maintenance. I buy the concentrated purple (industrial) or green jug.
- Pros: Cheap, non-toxic, biodegradable, and effective on organic resins.
- Cons: It is water-based. You must dry the blade thoroughly and oil it immediately, or it will flash rust in minutes.
3. Laundry Detergent and Water
Believe it or not, a capful of aggressive laundry detergent in a shallow pan of water works wonders on pine pitch.
- Pros: You already have it in the house.
- Cons: Same as Simple Green—rust risk is high if you aren’t careful.
4. Mineral Spirits / Paint Thinner
- Pros: Does not cause rust; good for general grime.
- Cons: It struggles with hard, baked-on cherry or pine pitch. It’s more of a solvent for oil than hard resin.
5. Oven Cleaner (The “Nuclear Option”)
Some old-timers swear by Easy-Off.
- Pros: It dissolves everything.
- Cons: It is extremely caustic. It can eat the paint off your bandsaw if you aren’t careful, and it can actually damage the brazing on expensive carbide-tipped blades. I generally avoid this unless the blade is a disaster.
Step-by-Step: The Deep Clean Method
There are two ways to do this: the “Lazy Wipe” (cleaning it while it’s on the saw) and the “Deep Soak.” The Lazy Wipe is fine for a quick touch-up, but if you are reading this, your blade probably needs the Deep Soak.
Step 1: Remove and Coil the Blade
Take the tension off your bandsaw and remove the blade. If you don’t know how to coil a bandsaw blade (the three-loop fold), now is the time to learn. It makes the blade small enough to fit in a soaking container.
- Tip: Hold the blade with teeth pointing away from you. Step on the bottom of the loop (on a mat, not concrete!). Push the top of the loop down while twisting your wrists inward. It should snap into three coils.
Step 2: Prepare the Soaking Tub
You don’t need fancy equipment. I use a cheap plastic lid from a 5-gallon bucket or a specialized shallow pan. Place the coiled blade inside.
Pour your chosen cleaner over the blade. If you are using a concentrated cleaner like Simple Green, you can dilute it 1:1 with water. Ensure the teeth are fully submerged.
Step 3: The Wait
Let it sit. If the buildup is light, 5-10 minutes is enough. If you’ve been cutting heart pine for three days straight, let it soak for 30 minutes. Go sand something or sweep the shop while the chemistry does the work.
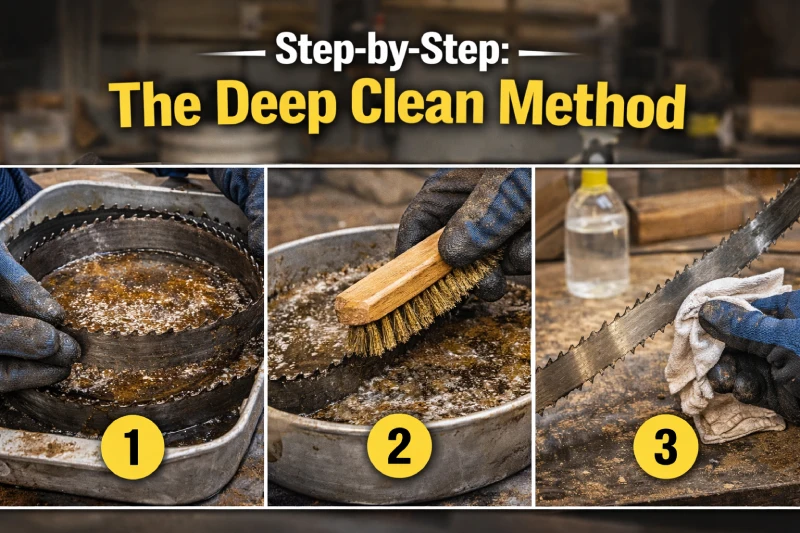
Step 4: The Scrub
Lift the blade out (gloves on!). You’ll see the water has turned a dark, murky brown. That’s the pitch dissolving.
Use a brass-bristle brush or a firm nylon scrub brush. Do not use a steel wire brush; it’s too aggressive and can dull the cutting edge. Scrub along the direction of the teeth, not across them. Pay special attention to the gullets—that’s where the sawdust gets packed in and causes the most heat.
You should see the shiny steel emerging. If there are stubborn spots, hit them again with the cleaner and give it another scrub.
Step 5: The Rinse and Dry (Crucial!)
If you used a water-based cleaner, take the blade to a utility sink or hose and rinse it off thoroughly.
Here is the most important part: You must dry it immediately. I use an old shop towel to wipe it down, and then I often use my air compressor with a blow gun nozzle to blast water out of the crevices. If you leave water on high-carbon steel, it will rust before you even get it back on the saw.
Step 6: Rust Prevention and Lubrication
A clean, dry blade is a naked blade. It needs protection. Wipe the entire blade down with a light coat of Camellia oil, Boeshield T-9, or even a Paste Wax. This does two things:
- It prevents rust.
- It acts as a lubricant for your next few cuts, helping the blade glide through the wood.
Note: Avoid silicone-based sprays if you plan on finishing your wood later. Silicone can cause “fisheye” defects in stains and varnishes.
The “Lazy Wipe” Method (Maintenance Mode)
You don’t always have time to take the blade off. If I’m in the middle of a job and notice a little pitch buildup, I’ll do a quick maintenance clean.
- Unplug the saw.
- Open the wheel covers.
- Soak a scotch-brite pad or a brass brush with mineral spirits or blade cleaner.
- Scrub the exposed section of the blade.
- Manually rotate the wheel (by hand!) to expose a new section. Repeat until you’ve done the whole loop.
- Wipe dry with a rag as you rotate it again.
This isn’t as good as soaking, but it keeps you running during a long day of resawing.
Checking the Blade Guides
While your blade is soaking, look at your bandsaw guides. Whether you have European-style bearings or Cool Blocks, they are probably caked in the same pitch that was on your blade.
If your guides are dirty, they will instantly dirty your clean blade. Scrape them clean with a flat-head screwdriver or use a little solvent. A clean guide system runs cooler and quieter.
When Cleaning Isn’t Enough: Signs Your Blade is actually Dull
I promised to save you from throwing away good blades, but sometimes a blade truly is dead. How do you tell the difference?
After you have cleaned the blade thoroughly, re-install it and make a test cut.
- Good: It cuts fast, straight, and requires little feed pressure.
- Bad: You still have to push the wood hard to get it to cut.
- Bad: The blade still wanders, even with the guides set correctly.
- Bad: The teeth feel round when you carefully touch them (unplugged!).
If the blade is clean but still requires heavy feed pressure, the teeth are dull. If it’s a standard hardback carbon blade, it’s time to replace it. If it’s a carbide blade, send it out for sharpening.
FAQ: Frequently Asked Questions
1. Can I use WD-40 to clean my bandsaw blade?
You can use WD-40 to help loosen grime, but it is primarily a water displacer and penetrant, not a heavy-duty degreaser. It works okay for light maintenance, but for heavy pitch buildup, dedicated blade cleaners or Simple Green work better. However, WD-40 is excellent for wiping down the blade after cleaning to prevent rust.
2. How often should I clean my bandsaw blade?
It depends on what you cut. If you are cutting pine, fir, or cherry, you might need to clean it after every major project. For dry maple or oak, you might go months without needing a clean. A good rule of thumb: if you see black stuff on the teeth or feel resistance while cutting, clean it.
3. Will water-based cleaners rust my blade?
Yes, they will-if you don’t dry it immediately. Carbon steel bandsaw blades rust very easily. If you use water or water-based detergents (like Simple Green), you must dry the blade completely with a towel or compressed air and immediately apply a rust inhibitor or wax.
4. Can I use a wire wheel on my bench grinder to clean the blade?
I do not recommend this. A powered wire wheel is aggressive and can easily round over the sharp edges of the teeth. It’s also dangerous to hold a flexible blade against a spinning grinder. Stick to a hand-held brass or nylon brush; it’s safer for you and the blade.
5. Why does my blade still burn wood after cleaning?
If the blade is perfectly clean and the tension is correct, but it still burns wood, the blade is likely dull or has lost its “set.” When the teeth lose their sharpness or are bent back into alignment with the body, they generate friction instead of cutting chips. At this point, the blade needs to be replaced or resharpened.
Final Thoughts from the Shop
A bandsaw is only as good as the steel loop you put on it. You can have a 5-horsepower Italian bandsaw, but if the blade is caked in pine tar, it’s going to cut like a rusty hand saw.
Make cleaning your blade a part of your routine. I try to clean mine every time I switch from a resinous wood to a clean hardwood, or roughly every 10 hours of runtime. It takes 15 minutes, costs pennies in cleaning fluid, and saves you the frustration of ruined lumber and burnt cuts.
Now, get out to the shop, coil that blade, and get scrubbing. Your bandsaw will thank you.