In my shop, I’ve seen just about every finishing disaster you can imagine. I’ve seen blotchy stain jobs, varnish that refuses to dry, and clear coats that peel off like a sunburn after a week. But one question comes up constantly from folks trying to get the best of both worlds: “Can I put polyurethane over tung oil?”
The short answer is yes. You absolutely can apply polyurethane over tung oil.
However, there is a massive “BUT” attached to that answer. If you get the timing wrong, or if you don’t understand the chemistry happening on the surface of your wood, you are going to end up with a gummy, wrinkled mess that will require stripping the whole piece down to bare wood.
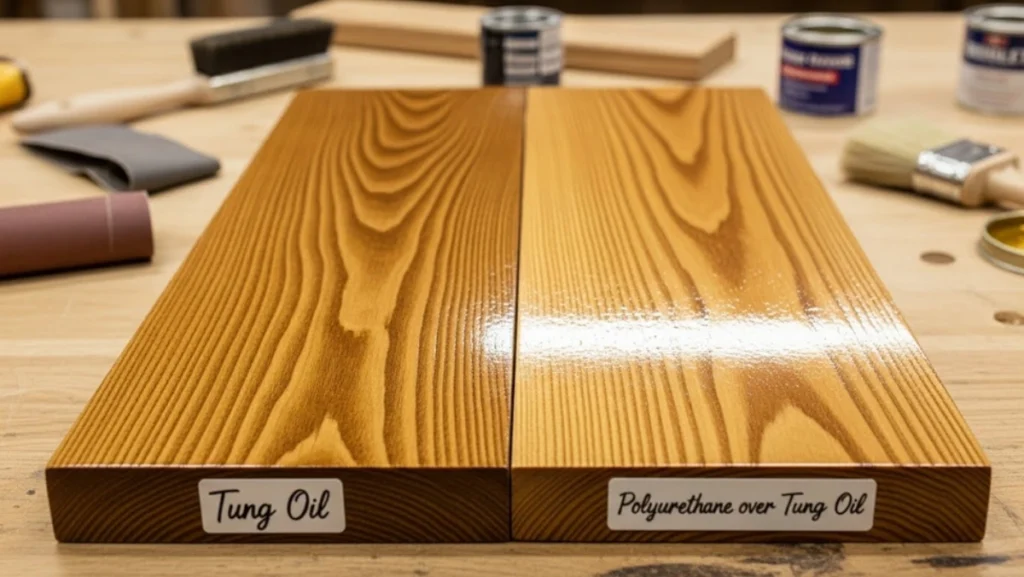
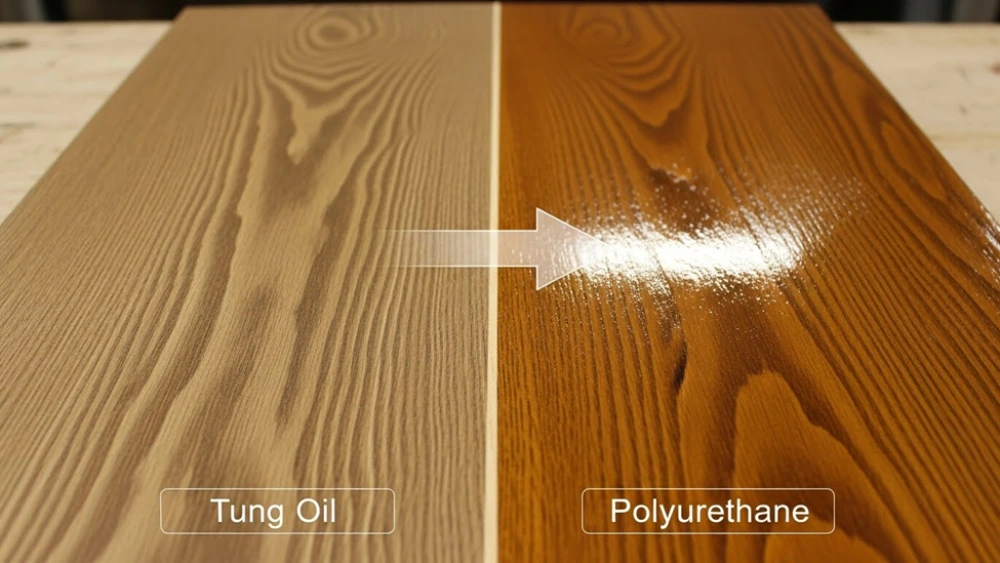
I love the deep, amber warmth that tung oil gives to walnut or cherry. It pops the grain like nothing else. But let’s be honest—tung oil offers almost zero protection against scratches or water rings. That’s where the polyurethane comes in. It provides the armor.
In this guide, I’m going to walk you through exactly how to layer these two distinct finishes, how to tell if your oil is actually cured (not just dry), and the “secret weapon” step I use to guarantee adhesion every single time.
The Clash of Chemistries: Penetrating Oil vs. Film Finish
To understand why this process is tricky, you have to understand what these two finishes are actually doing to your lumber.
Tung Oil is a penetrating finish. Whether you are using 100% Pure Tung Oil or a modified “Tung Oil Finish,” its job is to soak into the wood fibers. Once inside, it oxidizes and hardens, becoming part of the wood itself. It doesn’t sit on top; it lives in the wood.
Polyurethane is a film-building finish. It is designed to sit on top of the wood, creating a hard plastic shell.
The conflict happens when the oil inside the wood is still off-gassing or “curing.” If you seal that surface with a plastic film (poly) while the oil is still active, the gases get trapped. This leads to adhesion failure, white haze, or the dreaded “orange peel” texture.
The “Tung Oil” Trap: Read the Label
Before we move to the steps, go look at the can of oil you used. This is crucial.
- 100% Pure Tung Oil: This is the real deal. It is thick, smells nutty, and takes a long time to cure. If you used this, you are in for a wait.
- “Tung Oil Finish” (e.g., Minwax, Formby’s): These are marketing terms. These products usually contain very little tung oil. They are mostly varnish, mineral spirits, and boiled linseed oil. Ironically, these are easier to topcoat because they contain dryers that speed up the curing process.
Step 1: The Waiting Game (Curing vs. Drying)
This is where 90% of woodworkers fail. They touch the wood, it feels dry, so they crack open the can of poly.
Drying means the solvents have evaporated.
Curing means the oil has fully polymerized and hardened.
You cannot put poly over dry tung oil; it must be over cured tung oil.
How long does it take?
- Modified Tung Oil Finishes: Usually safe to topcoat after 3 to 7 days, depending on humidity.
- 100% Pure Tung Oil: This is the heartbreaker. Pure tung oil can take 30 days or more to fully cure. If you rush this, the poly will peel.
The Smell Test
I don’t use a moisture meter for this; I use my nose. Get your nose right down to the wood surface.
- Smells like oil/solvent? It’s not ready.
- No smell? It’s likely cured.
The Thumb Test
Press your thumb hard onto an inconspicuous area of the wood for 30 seconds. If it leaves a visible impression or feels tacky when you pull away, do not open that can of polyurethane.
Step 2: Choosing Your Polyurethane
Once your oil is cured, you need to pick your armor.
Oil-Based Polyurethane (Recommended)
This is the safest bet. Since tung oil is oil-based and this poly is oil-based, they are naturally more compatible. The solvents in the oil-based poly will slightly “bite” into the tung oil, creating a chemical bond. plus, the amber tone of oil-based poly matches the warmth of the tung oil.
Water-Based Polyurethane (Proceed with Caution)
Water and oil don’t mix. If you try to put a water-based poly (like Polycrylic) over an oil finish that isn’t 1000% cured, the water-based finish will bead up or delaminate. However, if you want that crystal-clear look without the yellowing of oil poly, you can do it—but you need a barrier coat (see Step 4).
Step 3: Surface Preparation
Your tung oil finish likely raised the grain slightly, or perhaps it feels a bit rough. You need to create a mechanical tooth for the poly to grab onto.
- Light Scuff Sanding: Do not use power sanders here. You don’t want to cut through the oil color you worked so hard to achieve.
- Use 320 or 400-grit sandpaper: Gently hand-sand the surface. You are just looking to knock down any nibs and dull the surface slightly.
- Clean the Dust: Vacuum the surface thoroughly.
- Mineral Spirits Wipe: Dampen a lint-free rag (I use old t-shirt scraps) with mineral spirits and wipe the surface down. This removes the fine dust and any oily residue on the surface. Note: If you plan to use water-based poly, wipe with a damp water cloth instead of mineral spirits, and let it dry completely.
Step 4: The Secret Weapon (Dewaxed Shellac)
If you are nervous about adhesion, or if you are dead-set on using a water-based poly over the tung oil, you need a tie-coat.
Dewaxed Shellac (like Zinsser SealCoat) is the universal peacemaker of the finishing world. It sticks to everything, and everything sticks to it.
- Apply a thin coat of dewaxed shellac over the cured tung oil.
- It dries lightning fast—usually in 30 to 45 minutes.
- Lightly sand the shellac with 320-grit.
- Apply your polyurethane.
The shellac seals in any remaining oil oils and provides a perfect, neutral base for your topcoat. I use this method on almost every fine furniture piece I build just for the peace of mind.
Step 5: Applying the Polyurethane
Now you are ready for the final finish. Whether you are brushing, wiping, or spraying, the rules of engagement are the same.
- Thin the First Coat: I like to thin my first coat of oil-based poly with about 10% mineral spirits. This helps it flow out better and reduces brush marks.
- Don’t Overwork It: Lay it down and leave it alone. Brushing back and forth introduces bubbles.
- Sand Between Coats: Once the first coat is dry (usually overnight), sand lightly with 320-grit sandpaper to remove dust nibs.
- Build Your Layers: Usually, 3 coats of polyurethane are sufficient for a tabletop. For vertical surfaces like cabinet sides, 2 coats are plenty.
Troubleshooting Common Issues
Even the pros run into trouble. Here is what to do if things go sideways.
The Finish is Wrinkling
This is called “alligatoring.” It happens because the tung oil underneath wasn’t cured, and it’s off-gassing through the poly.
- The Fix: Sadly, there is no easy fix. You have to scrape or sand it off and start over. This is why the “Waiting Game” in Step 1 is non-negotiable.
The Poly is Peeling
This usually means there was a wax contaminant on the surface (did you use a wood conditioner with wax?) or the surface was too glossy and wasn’t sanded enough.
- The Fix: Sand the peeling area feather-smooth, apply a coat of dewaxed shellac to bind it, and re-apply poly.
White Haze
This often happens if you apply poly when it’s too humid, or if moisture got trapped between the oil and the poly.
- The Fix: Sometimes, a light sanding and a fresh coat of poly will re-wet the surface and clear the haze. If that fails, you have to strip it.
Why Bother with Both? The Pros and Cons
Is it worth the hassle? Here is my take after years of mixing finishes.
The Pros
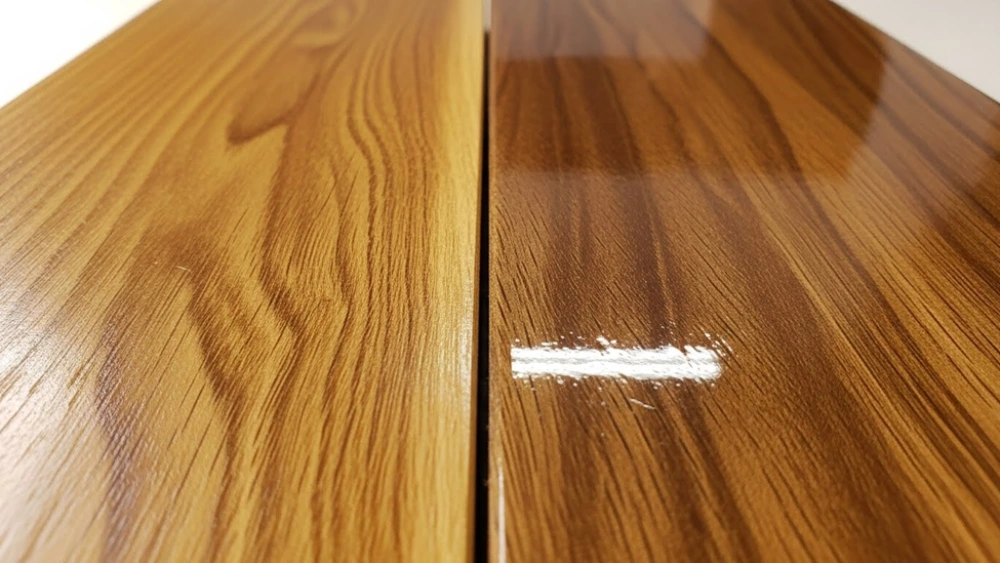
- Aesthetics: You get the “chatoyance” (shimmer/depth) that only oil can provide. It highlights the figure in woods like curly maple or tiger oak.
- Durability: You get the chemical and abrasion resistance of polyurethane. It’s a bulletproof finish that looks like a hand-rubbed oil finish.
- Best of Both Worlds: Ideal for dining tables or coffee tables where you want the look of oil but the protection against hot coffee mugs and spills.
The Cons
- Time: This is not a weekend project. Between the oil curing (weeks) and the poly drying (days), you are looking at a long process.
- Risk: Every layer adds a variable. If one layer fails, the whole finish fails.
- Repairability: A pure oil finish is easy to repair—you just add more oil. Once you coat it in plastic (poly), you can’t just spot-repair it easily; you usually have to refinish the whole surface.
Summary Checklist for Success
If you are going to attempt this, print this checklist and keep it in your shop:
- Apply Tung Oil: Wipe on, wipe off excess.
- Cure: Wait until the smell is gone (7-30 days).
- Clean: Remove dust and contaminants.
- Tie-Coat (Optional but Recommended): Apply Dewaxed Shellac.
- Scuff Sand: 320-grit.
- Apply Poly: Thin coats, sand between coats.
Final Thoughts from the Shop
Can you put polyurethane over tung oil? Yes. Should you?
If you are building a fine dining table or a desk that will see heavy use, I say go for it. The visual depth of the oil combined with the durability of the poly is a winning combination that separates custom furniture from factory-made stuff.
Just remember the golden rule of woodworking finishing: Patience is the most important tool in your box. Don’t rush the cure time. Let the oil do its work, and the poly will do its job perfectly.