There is a specific feeling you get when you look at a piece of Arts and Crafts furniture, and those medullary rays in the white oak just pop out at you. It’s shimmering, stable, and unbelievably beautiful. Then you look at the price tag for quarter sawn lumber at the hardwood dealer, and your wallet starts to sweat.
Most woodworkers start by buying S4S (surfaced on four sides) lumber. Then, they graduate to buying rough-sawn “plain sawn” boards and milling them flat. But the real deep dive-the point where you take total control of your project’s grain and stability-is when you start milling your own logs.
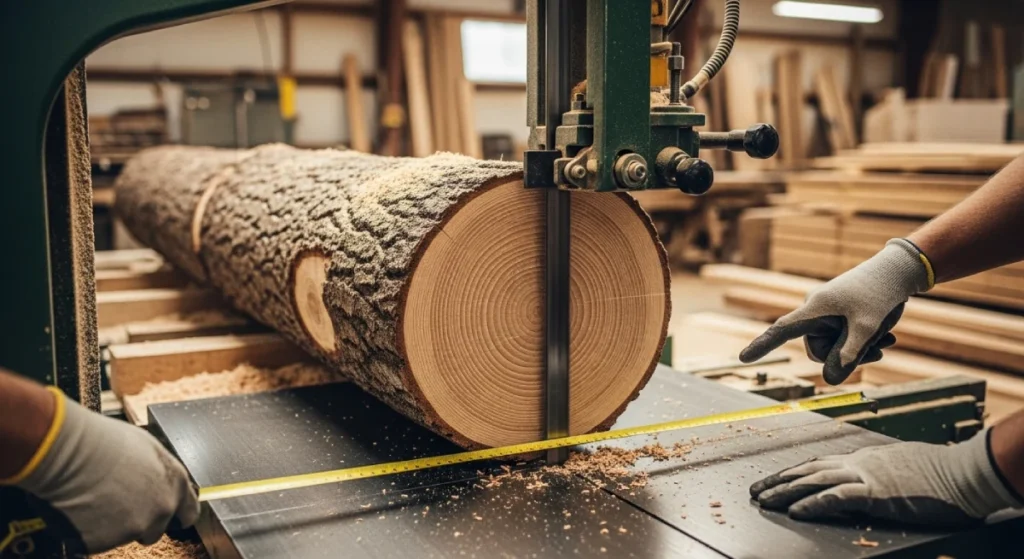
You don’t need a massive industrial sawmill to do this. If you have a decent bandsaw in your shop, you have the capability to produce high-grade, quarter sawn lumber yourself. I’ve spent years on jobsites and in the shop making the most out of local timber, and milling on the bandsaw is one of the most satisfying processes I know.
Here is a practical, boots-on-the-ground guide to quarter sawing logs using the tool you likely already own.
Why Bother Quarter Sawing?

Before we start making sawdust, let’s establish why we go through the extra effort of quarter sawing versus plain sawing.
When you plain saw a log (tangential cutting), you are basically slicing the log like a loaf of bread. It’s fast and yields wide boards, but the growth rings run side-to-side across the width of the board. This yields “cathedral” grain patterns, which are pretty, but these boards love to cup, twist, and warp with seasonal humidity changes.
Quarter sawing is about chasing vertical grain.
By cutting the log radially (perpendicular to the growth rings), you achieve two main things:
- Stability: Wood expands and contracts roughly twice as much along its growth rings as it does across them. By orienting the rings vertically (perpendicular to the face of the board), the movement happens in the thickness of the board, not the width. A quarter sawn board stays dead flat.
- Aesthetics: In species like White and Red Oak, quarter sawing reveals the medullary rays—those distinct flecks and ribbons that define mission-style furniture. In maple or cherry, it provides a calm, straight, consistent grain pattern that is easy to match across a project.
The Gear: Is Your Bandsaw Ready?
Milling logs is heavy-duty work. You cannot attempt this with a benchtop 10-inch bandsaw outfitted with a 1/4” scrolling blade. You will burn up your motor, snap the blade, and potentially get hurt.
Here are the realistic requirements for your machine:
- Horsepower: You really need at least a 1.5 HP motor, though 2 HP or 3 HP is vastly preferred for hardwoods like oak or maple.
- Resaw Capacity: You need vertical height. Most standard 14” bandsaws have about 6 inches of resaw capacity. You’ll need to add a “riser block” to get that up to 12 inches. Larger 17” or greater bandsaws usually come ready to go.
- The Blade (Crucial): This is where most people fail. You need a blade designed for ripping thick stock.
- Width: Use the widest blade your saw can tension properly—usually 3/4” or 1”.
- TPI (Teeth Per Inch): You need deep gullets to clear massive amounts of sawdust. Look for a 2 TPI or 3 TPI blade.
- Material: If you are cutting clean logs, carbon steel works for a while. But logs often contain dirt or silica. I highly recommend investing in a carbide-tipped resaw blade. It costs three times as much but lasts ten times longer and cuts straighter.
- Fence Adjustment for Drift: Bandsaw blades rarely cut perfectly straight forward. They have “drift.” You must adjust your fence to match the natural cutting angle of your specific blade, or you will fight the cut the entire time, overheating the blade and ruining the lumber.
Safety Protocol: Respect the Log
Milling round logs adds variables you don’t have with square stock.
- Never freehand round wood. Trying to push a round log through a bandsaw blade without a sled or jig is a recipe for disaster. The blade will grab the log and spin it violently.
- Watch for metal. Backyard trees contain nails, old fencing wire, and even bullets. Inspect the end grain and use a metal detector if you have one. Hitting a hardened steel screw will destroy a $150 carbide blade instantly.
- Clean the bark. Use a drawknife or a wire brush on an angle grinder to remove dirt, rocks, and grit embedded in the bark. This dulls blades faster than the wood itself.
The Process: Step-by-Step Quarter Sawing
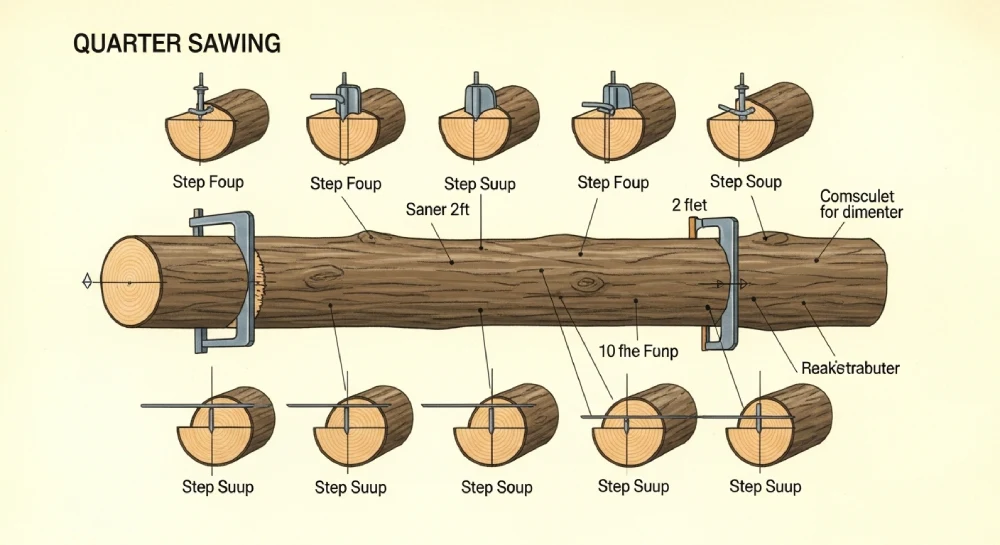
The traditional method of quarter sawing involves cutting the log into four quarters and then processing each quarter. Because we are limited by the throat capacity of a shop bandsaw, we are using a modified approach suitable for smaller-diameter logs (roughly 12” to 18” diameter).
Step 1: Sizing the Log to Your Saw
Don’t bite off more than you can chew. If your saw has a 12-inch resaw capacity, don’t try to muscle a 16-inch log through it. Use a chainsaw to buck the log into manageable lengths—usually 3 to 4 feet long is plenty heavy for handling in a small shop.
Step 2: The First Flat Face (The Log Sled)
As mentioned in safety, you cannot cut round wood against a flat fence. You need to establish a flat reference surface.
The easiest way to do this is with a simple plywood log sled.
- Take a piece of 3/4” plywood that is slightly longer and wider than your log section.
- Attach a runner to the bottom that fits your bandsaw’s miter slot (optional, but helps with straight tracking).
- Place the log on top of the plywood. Find the most stable orientation.
- Use wooden wedges and screws to secure the log tightly to the plywood so it cannot rock or roll.
- Set your bandsaw fence so the blade will slice off just enough of the log’s edge to create a flat surface about 4–6 inches wide.
- Push the entire sled through the saw.
Tip: Don’t throw away that first cutoff slab (the flitch). Let it dry; it’s great for live-edge shelf projects.
Step 3: Quartering the Log
Now that you have one flat face, you can ditch the sled.
- Place the newly cut flat face down on your bandsaw table.
- Adjust your fence so the blade is aimed squarely at the dead center (the pith) of the log.
- Make the cut all the way through. You now have two halves of a log.
- Take one half. Place the large flat face you just cut against the fence.
- Cut that half exactly in the middle again.
You now have four pie-shaped wedges (quarters) of the log. The center point of the pie slice is the pith of the tree.
Step 4: The Quarter Sawing Sequence
Now the real magic happens. We are going to process one of these pie wedges.
The goal is to keep the growth rings as close to 90 degrees to the face of the board as possible. To do this, we have to rotate the stock frequently.
- The Setup: Take one pie wedge. Place one of its flat, straight sides down on the table, with the other flat side against your bandsaw fence. The bark side will be facing up and diagonally away from the fence.
- First Cut: Set the fence to cut a board of your desired thickness (e.g., 1-1/8″ to allow for drying and planing to a final 3/4″). Slice off the first board.
- Analysis: If you look at the end grain of this first board, the rings should be almost perfectly perpendicular to the face. This is premium quarter sawn wood.
- The Rotate: Now, take the remaining wedge of wood. Rotate it 90 degrees so the face you just cut is now resting flat on the bandsaw table. The other flat face is against the fence.
- Second Cut: Keep the fence setting the same and slice off another board.
- Analysis: This board is also premium quarter sawn.
- Repeat: Rotate the wedge 90 degrees again, placing the freshly cut face down on the table. Slice.
Continue this “cut, rotate, cut, rotate” pattern.
The Reality Check:
As you keep cutting and rotating, you are working your way toward the narrower tip of the pie slice. As you do this, the angle of the growth rings relative to the board face will start to change.
The first few wider boards will be truly “quarter sawn” (rings 60–90 degrees to face). As the boards get narrower toward the center, they will become “rift sawn” (rings roughly 30–60 degrees to face).
Rift sawn wood is excellent. It is highly stable and has a very linear, clean, straight grain pattern, though it lacks the dramatic ray fleck of true quarter sawn oak. Both are superior to plain sawn lumber for furniture making.
When the remaining wedge gets too small to safely handle, toss it in the firewood pile.
Step 5: Immediate Aftercare (Stickering)
You have just exposed wood that has been soaking wet inside a log for decades to the open air. It wants to warp immediately. You need to get it stacked and stickered right now.
- Find a flat, level surface.
- Place “stickers”—dry strips of wood roughly 3/4” x 3/4″—perpendicular to the direction of your new lumber, spaced about 12–16 inches apart.
- Stack your fresh boards on the stickers, leaving gaps between the edges of the boards for airflow.
- Place another row of stickers directly on top of the previous row.
- Keep stacking.
- Put heavy weight on the very top of the stack (cinder blocks work well) to keep the top boards flat while they dry.
Coat the ends of the boards with latex paint or a commercial end-grain sealer like Anchorseal. Moisture leaves end grain 10 times faster than face grain; sealing it prevents serious checking (splitting) at the ends of your precious boards.
The Payoff
Milling your own lumber on a bandsaw is slow work. It’s loud, dusty, and requires physical effort.
But when you pull that first slab off the log and see the shimmering rays of quarter sawn white oak that you liberated from a firewood pile, you’ll realize it’s worth every second. You aren’t just buying wood anymore; you’re sourcing it. And the furniture you build from it will tell a much deeper story.
Frequently Asked Questions (FAQ)
How long does the fresh-cut lumber need to dry?
The general rule of thumb for air-drying lumber is one year per inch of thickness. However, this varies wildly based on humidity, temperature, and species. Get yourself a decent moisture meter. You are looking for the wood to reach equilibrium with your shop environment, usually roughly 8% to 12% moisture content depending on your location, before you start building with it.
My bandsaw blade is wandering or “barreling” in the cut. What’s wrong?
This is usually a combination of three things: insufficient blade tension (resawing needs high tension), feeding the wood too fast (let the tool do the work, don’t force it), or a dull blade. If you are cutting hard oak with a carbon steel blade, it might dull after just one or two logs.
Can I quarter saw softwood like pine or fir?
Absolutely. While you won’t get the ray fleck pattern seen in oak, quarter sawing softwoods significantly increases their stability. Quarter sawn Douglas Fir, for example, is prized for its tight, straight, vertical grain pattern and is often used in vertical grain flooring or window sashes.
Is the leftover “pith” in the center of the log usable?
Generally, no. The pith (the very center bullseye of the log) is juvenile wood. It is highly unstable and prone to severe cracking as it dries. When quarter sawing, you are usually cutting away from the pith, leaving it in the scrap wedge at the end of the process.
How big of a log can I handle on a standard 14″ bandsaw with a riser block?
While a riser block gives you 12″ of vertical cutting height, the real limitation is often weight and table size. Managing a log section larger than 14″–16″ in diameter becomes very difficult and potentially unsafe on a standard shop bandsaw table. Keep log lengths shorter (around 3 feet) to make heavy diameter logs manageable.